The best technique to MAKE STICKER LABELS
Sticker names are a certain prerequisite have for keeping things dealt with yet did you understand that changed DIY sticker names are incredibly easy to make? In this paper makes instructional exercise, I will disclose to you the most ideal approach to make custom sticker labels names that are redone to you by using the print-and-cut segment of the Silhouette Cameo. If you have a substitute brand of electronic fail miserably shaper that furthermore goes with a print-and-cut component, you can apply a comparative plan to make your very own sticker names.
Supplies:
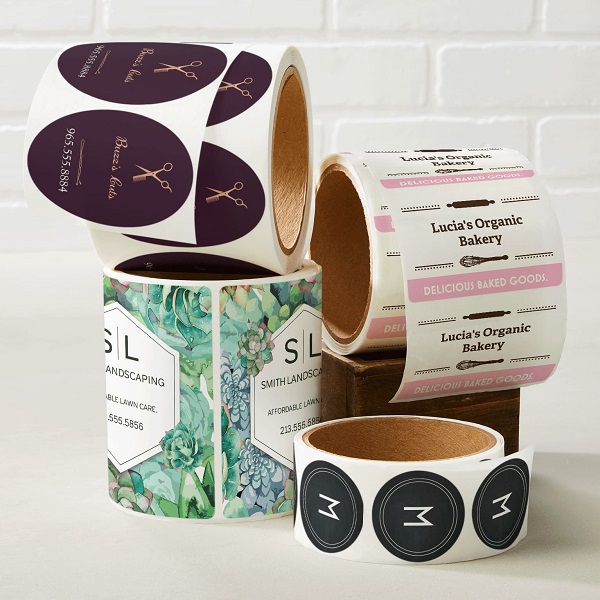
• Sticker paper (or paste upheld paper)
• Digital representations (I am using the Ice Princess reasonable by Lettering Delights)
• Silhouette Cameo with the Silhouette Studio programming
Orientation:
Stage 1:
Pull in four circles the going with sizes: 5.25", 7", 7.5", 8".
Alter each circle using "Center to Page."
Stage 2:
Type "PROPERTY OF" with the Arial literary style at content measurement 36pt.
Type "Princess (name)" and set its estimation to about 5.75" wide and 1" tall.
Concealing fill all of the words with dim and sets the line concealing to clear.
Stage 3:
Drag the "PROPERTY OF" content over to the 5.25" circle so it twists around the top.
Position the "Princess (name)" underneath the "PROPERTY OF" content.
Stage 4:
Import the princess sensible into the program, and set the size to 8.255" x 5".
Position the reasonable under the "Princess (name)."
Stage 5:
Make a copy of the 8" circle anyway doesn’t stick the copy.
Stage 6:
With both the 8" circle and the princess sensible picked, use Object>Modify>Crop to eradicate away the piece of the practice that is outside the name.
Stage 7:
Right-click and select "Paste to Front" to reestablish the imitated 8" drift back to the virtual tangle.
Stage 8:
Concealing fill the 7.5" float with diminish, set line concealing to direct, and "Send to Back".
Concealing fill the 8" float with light dull, set the line concealing to direct, and "Send to Back".
Stage 9:
Change the line style of the 7" drift from solid to ran, increase the line thickness to 1.5pt, and change the line concealing to white.
Set the line shade of the 5.25" drift to direct.
Select all and set the Cut Style to "No Cut."
Assembling all of the layers.
Stage 10:
Reduce the size of the amassed picture to 2" and set the Cut Style to "Cut Edge."
Stage 11:
Presently the imprint is done and is set up for print-and-cut.
Set the paper size as shown by the size of the concrete maintained paper that you are using and turn on the enlistment marks.
Duplicate the names with the objective that they fill the page inside the "No-Cut" zone.
Stage 12:
Keep on printing the names to your printer, by then cut with your electronic machine using the reasonable cut settings for cheap labels paper.
By using different structures or words, you can without quite a bit of a stretch modify these DIY sticker marks for different applications. I much of the time makes gift names and bookplates.


Comments
Post a Comment